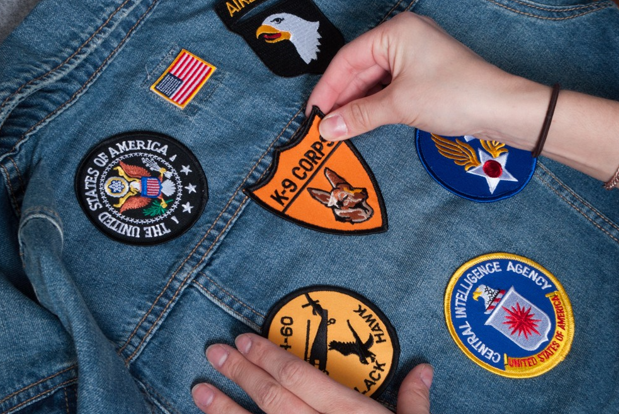
Embroidery, woven and printing patches have different backing options, such as safety pin, velcro, thin plastic, paper backing, but the most popular one is Iron on backing.
Iron on backing is a high-quality thermoplastic adhesive material that has good adhesion properties to cotton, textiles, and fabrics. Simply heating it with an iron will melt the material, acting like a strong adhesive, allowing patches to adhere to clothing.

Iron on backing can be used for embroidery patches, chenille patches, PVC patches, and leather patches. Iron on Patches has many advantages, such as:
A. Simple: No professional skills or special tools are required, only an iron to easily glue Iron on patches onto clothes.
B. Fashion: If you want your clothes to have a unique appearance, you can purchase a stylish Iron on Patch attached to your clothes. For example, you can put your favorite Avengers logo patch on your jeans.
C. Iconic: Some clubs like to use Iron on patches to create exclusive patches, and each member must wear them on their uniform to be more easily recognized.
D. Helping repair damaged clothing: Due to the tendency of clothing to tear, stain, and fade, approximately 80 billion pieces of clothing are discarded each year. However, with the help of iron on patches, patches can be used to cover any torn, dirty, or discolored areas, saving more money, eliminating the need to purchase new clothes, and reducing more pollution!
However, Iron on backing is not a permanent fixing method, and washing it several times may tear it. If this situation occurs, you can use an iron again for repeated heating to bond, and use sufficient pressure and heat to reactivate the adhesive. But we also suggest stitching it on, at least once at the edge, to add extra support to the patch.
However, for DIY iron on backing, some people might concern that it won’t permanent fixed because of the improper processing methods like the not high enough temperature, not enough long time heating etc.. In this way, actually, you can use an iron again for repeated heating to bond, and use sufficient pressure and heat to reactivate the adhesive. Or we also suggest stitching it on, at least once at the edge, to add extra support to the patch
Reminder, denim and cotton materials are suitable for all patches, while polyester fibers may melt when overheated, while silk and other thin materials are not suitable.
Finally, let me tell you how to simply iron on the patch
1. Firstly, ensure that the patch and clothing are clean, which can make it easier to adhere successfully.
2. Next, place the clothes on a flat, hard, and heat-resistant surface.
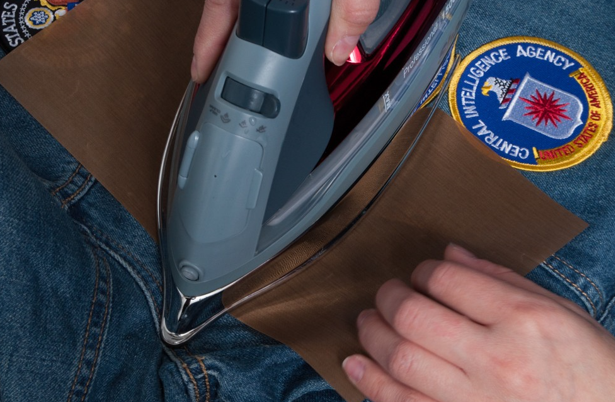
3. Place the patch in the position you want, and then cover it with a towel to protect your patch and clothing.
4. Adjust the iron to the hottest temperature that the clothing material can withstand. Use sufficient pressure to press the iron onto the position of the Iron on backing patch (across the towel) for 20-30 seconds, and the Iron on backing will be melted by heat and pressure, allowing the patch to adhere to the clothes.
5. Carefully flip the clothes over. Press the iron again with sufficient pressure for 20-30 seconds, allowing the Iron on backing to fully melt and bond to the clothes.
6. Check if all edges are correctly adhered to the patch. If not, please repeat these steps again. The thickness of different patches and fabrics varies, so the intensity and time required for ironing may also vary.
If you are looking for a trustworthy and long-term cooperation patch supplier, our company is the choice you will not regret!
Post time: May-29-2023


 WhatsApp:+86 18122811289
